
Resonance of Fate Combat Guide: Damage and Hero Actions
This Resonance of Fate combat guide explains scratch damage, direct damage, Hero Actions and bezel management, with clear notes on older-version sources.
On this page
- Separate scratch damage from direct damage
- Give each action a job
- Plan Hero Actions before spending bezels
- Understand the bezel gauge as a shared constraint
- Use coordinated attacks deliberately
- Check weapon charging when attacks feel weak
- Diagnose a failed battle one decision at a time
- Learn at normal speed before using double speed
- A practical learning order
- Sources and scope
Community combat tutorial · TCBvGames · 2016 · Original game · YouTube ↗
Separate scratch damage from direct damage
The collected research describes scratch damage as temporary damage produced by machine guns, rather than an immediate permanent reduction of enemy HP. Handguns deal direct damage and can convert accumulated scratch damage into an actual loss of health. This means the visual result of one character's attack does not tell you everything about whether the team's sequence was successful.
An editorial way to practice is to watch one enemy across a machine-gun attack and a following handgun attack, instead of switching targets after every animation. Look for the distinction between building damage and realizing that damage, then repeat the sequence until the relationship becomes clear. The guide does not assign a guaranteed damage number to either step, because equipment and encounter conditions are not fixed by the collected material.
Give each action a job
A useful plan explains why a character is moving, which enemy is being targeted and what the following character is expected to accomplish. If the opening action creates scratch damage, the rest of the sequence should account for converting it rather than treating every attack as an independent attempt to win. That is a planning method based on the documented damage relationship, not a mandatory permanent weapon assignment for Zephyr, Vashyron or Leanne.
Avoid copying a party arrangement without understanding the reason it works, especially when a video was recorded much later in the game. A displayed weapon setup may rely on parts and proficiency that are unavailable in your current situation. Start with a sequence you can explain, then change one element when the outcome differs from what you expected.
Plan Hero Actions before spending bezels
Hero Actions combine movement with firearm attacks and consume bezel resources, as described in the collected game research. Their value therefore depends on the route as well as the attack animation, because movement changes the party's positions for later decisions. Before committing, consider where the acting character will finish and which teammate will need to act afterward.
The important question is whether the action helps the team finish a target, improve position or build the setup for a coordinated attack. Spending resources simply because an action is available can leave you with fewer choices when an encounter becomes dangerous. Exact controller prompts, animation timings and remaster-specific adjustments are 待确认 here, so use the current in-game tutorial for the controls on your platform.
Understand the bezel gauge as a shared constraint
The collected research specifically warns that bezel management affects access to Hero Actions and the danger of Critical Condition. Treat the gauge as part of the battle plan rather than a decoration beneath the characters, because an effective attack sequence still has to leave the party able to continue fighting. When you review a failed attempt, include resource spending alongside damage and positioning.
Permanent gauge growth and recovery during combat answer different questions, which is why the bezel-shard guide is separate from this page. A larger maximum gauge does not remove the need to understand what happened during the current encounter. If your problem repeats after acquiring upgrades, review how resources are being used instead of assuming every setback requires another collectible.
Use coordinated attacks deliberately
Resonance Attacks are coordinated party actions associated with Resonance Points, according to the collected combat summary. Their purpose is to connect the actions of the team rather than to act as an unrelated special move with no preparation. Learn the relationship between party positioning and coordination before trying to reproduce an impressive late-game clip.
An effective practice question is whether you understand how the current formation supports the next coordinated action. If the answer is unclear, simplify the encounter and use the tutorial to observe the setup instead of adding more moving parts. This guide does not promise a universal opening formation, an automatic winning combo or a fixed number of points needed for every situation.
Check weapon charging when attacks feel weak
The supplied weapon research distinguishes charge speed from charge acceleration, with the first affecting initial charging and the second improving later charge levels. Magazine capacity and attachment layout also influence how a firearm performs, so a change in battle effectiveness is not necessarily explained by character level alone. Before repeating encounters for experience, inspect the weapon that is struggling to do its assigned job.
The customization page explains how to review those variables without claiming that one pictured arrangement is always optimal. When comparing two setups, keep the practical question narrow, such as whether you are waiting too long for the opening charge or failing to gain enough later charges. That approach gives you a reason to choose a part rather than relying on a decorative screenshot as a complete strategy.
Diagnose a failed battle one decision at a time
If an enemy survives, first distinguish between damage that was only prepared and damage that was actually converted. If the party loses its options, inspect the bezel gauge and the sequence of Hero Actions rather than focusing only on the final enemy attack. If the fight seems slow, compare positioning and weapon charging before assuming the answer is a higher level.
These are diagnostic suggestions, not newly measured rules about AI behavior or damage thresholds in Enhanced Remaster. They help you decide which documented system needs attention without inventing a boss-specific solution from incomplete evidence. Once you can describe the problem accurately, the related leveling guide can help determine whether training is actually relevant.
Learn at normal speed before using double speed
The collected enhancement research lists a new double-speed option affecting exploration, battles and events. That is useful context for returning players, but it does not replace the need to understand why a sequence works. An editorial recommendation for newcomers is to learn an unfamiliar mechanic at a pace where its result is easy to observe before accelerating repeated actions.
No claim is made here that double speed grants extra damage, extra experience or a different trophy requirement. Likewise, support for higher frame rates is a presentation feature in the research, not evidence of a new combat formula. Whether any individual mechanic was rebalanced specifically for the enhancement remains 待确认 until matching-version testing or official notes establish it.
A practical learning order
Start with damage conversion, then add purposeful Hero Actions, gauge management and coordinated team attacks. After that, revisit weapon charging and customization so that the equipment supports what you are trying to do. This order follows the relationship between the documented systems and keeps an unfamiliar term from becoming an excuse to copy an unexplained advanced build.
You do not need an invented target level, a fictional code or a promised perfect setup to begin learning these fundamentals. Use a repeatable situation to observe one concept, then take that understanding back into the mission that was causing trouble. A remaster-specific collection of tested boss rotations remains 待确认 and is not implied by the examples on this page.
Sources and scope
The factual core comes from the combat module in the combat and game-identity research. The developer website and older mechanics guide provide additional context, while the Steam customization discussion records player explanations of charging. Older mechanics references are kept separate from claims about newly tested Enhanced Remaster performance.
Related pages
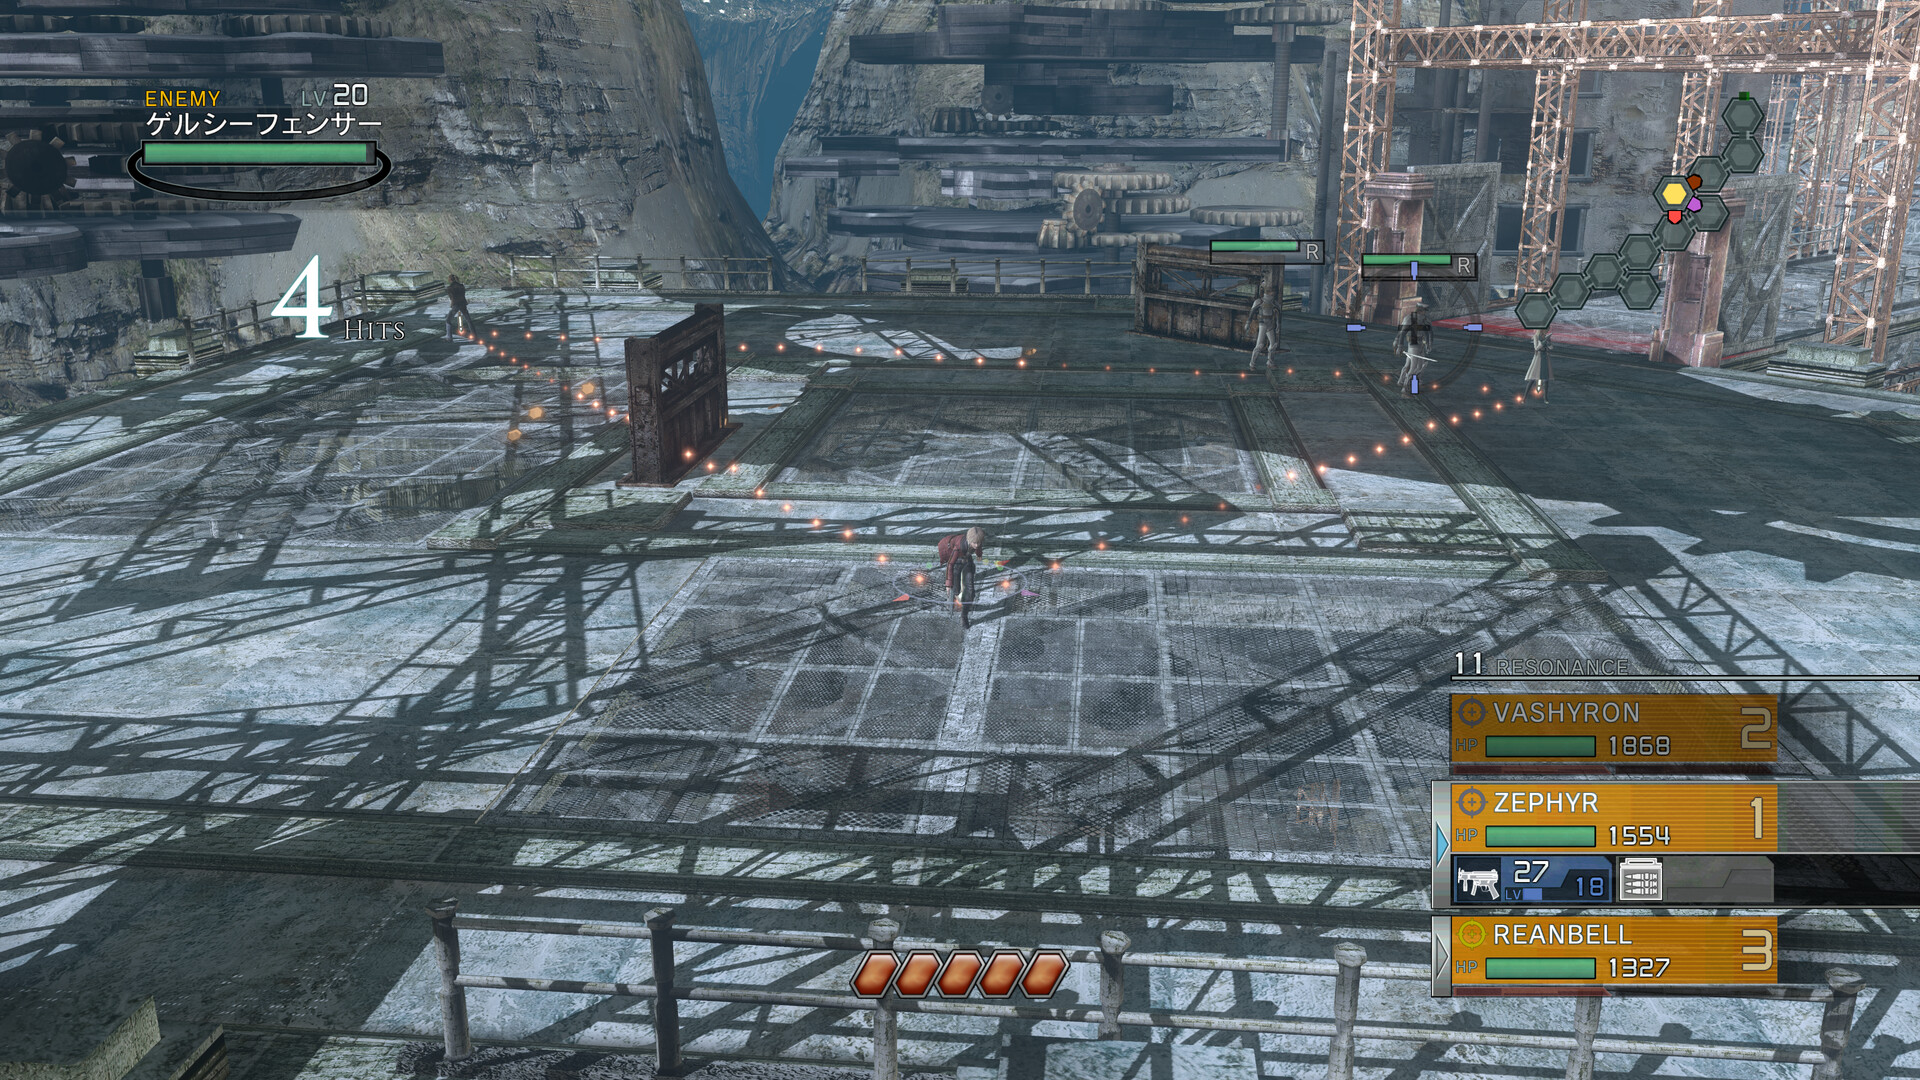
Resonance of Fate Arena: Ranks, Rewards and Preparation
Explore Resonance of Fate Arena progression, chapter gates, Battle Coins and completion goals, while distinguishing old guide data from remaster testing.
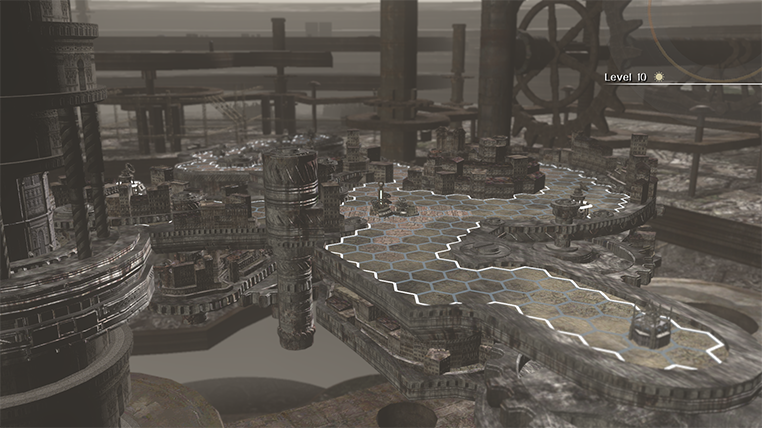
Basel Map Guide
Learn how to explore Basel using the game's distinctive hex-based world map system. Understand how map exploration connects with unlocking areas, discovering locations, and progressing through the story.
Beginner Guide
Start your journey through Basel with an introduction to the game's unusual gun-based combat system. Learn how to approach early battles, use Hero Actions, and prepare your party for increasingly difficult encounters.