
Resonance of Fate Leveling: Weapon Experience Explained
Understand Resonance of Fate leveling, weapon experience and preparation for late-game training, with version notes and no invented XP-per-hour claims.
On this page
- Identify the proficiency you are training
- Learn why damage matters
- Review equipment before adding more battles
- Match the training method to story progress
- Use the Arena for a defined purpose
- Consider terminal preparation separately
- Keep money and experience goals separate
- Evaluate progress without a made-up target level
- Double speed does not prove a new experience formula
- A documented charging limit
- Sources and practical limits
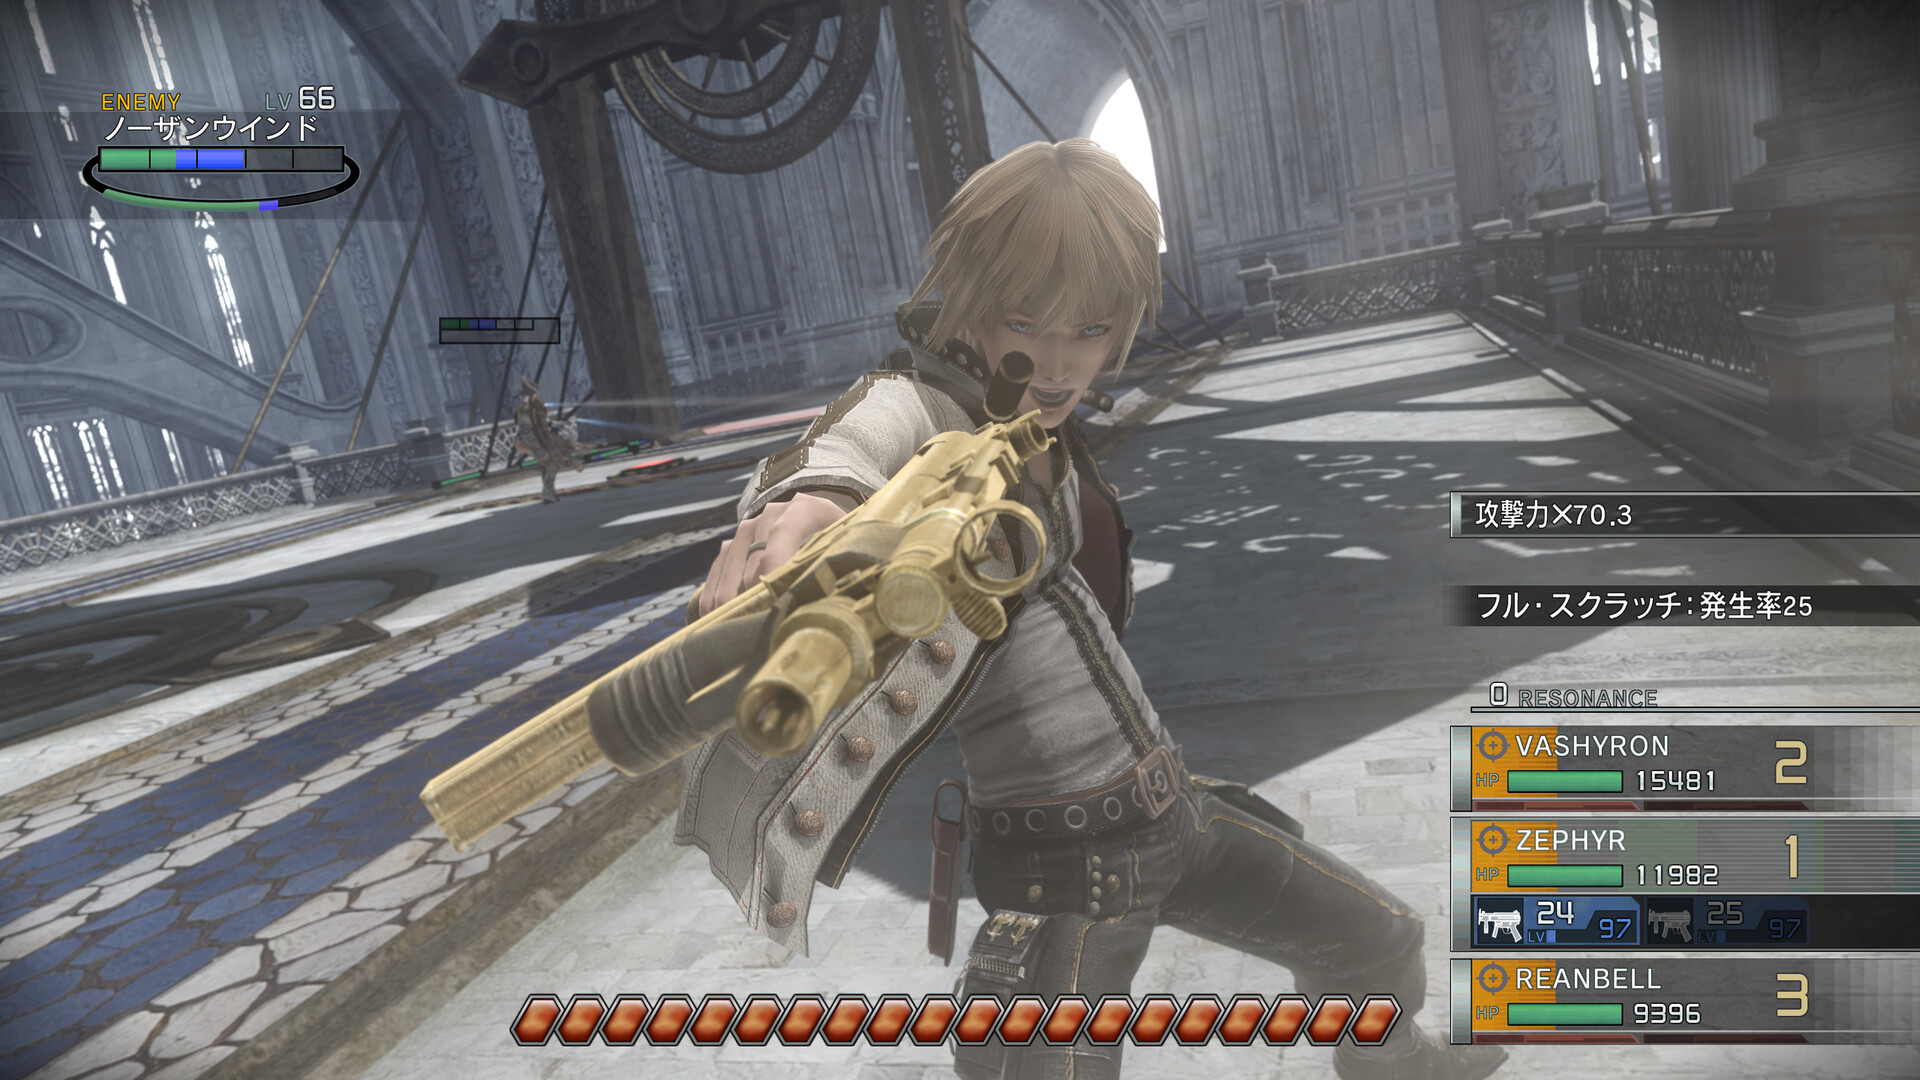
Identify the proficiency you are training
The collected mechanics material distinguishes weapon categories and connects progression with the attacks performed during combat. That means a vague goal such as making everyone stronger can conceal the practical question of which weapon skill needs attention. Start by looking at the character and weapon involved in the encounter that is causing difficulty.
An editorial training plan should be specific enough that you can recognize progress without relying on an invented experience-per-minute target. Decide whether the problem concerns a weapon category, survivability or the equipment arrangement before repeating battles. The visible character level is useful context, but it should not replace understanding of the underlying weapon and combat systems.
Learn why damage matters
The older mechanics reference relates experience gain to damage dealt, which makes the way you attack relevant to the way you train. The supplied combat research also distinguishes machine-gun scratch damage from handgun direct damage, so weapon roles cannot be reduced to interchangeable finishing animations. Learn that damage relationship before assuming any fast victory trains every desired proficiency equally.
This guide does not provide a universal conversion formula or a guaranteed number of levels per encounter. Those would require precise matching-version evidence, and they are not established by the collected game overview. Use the combat guide to understand the sequence, then observe the proficiency you actually intended to develop.
Review equipment before adding more battles
The weapon research identifies charge speed, charge acceleration, magazine capacity and attachment layout as factors affecting combat effectiveness. If a weapon cannot perform its role efficiently, repeating a weak sequence may be less useful than understanding the equipment problem first. A difficult encounter is therefore a reason to inspect the setup as well as the level display.
Consider what you want the weapon to do and whether its current attachments support that task. This is an editorial diagnostic step rather than a claim that levels never matter or that one build eliminates every challenge. The customization page provides a framework for comparing those characteristics without inventing a mandatory build for your chapter.
Match the training method to story progress
The collected Steam farming guide is aimed at players near the end of the game or preparing for Neverland. Its preparation assumes access that an early-game player may not yet have, so it should not be treated as a route available immediately after starting. A late-game method can be documented and still be irrelevant to your current campaign state.
Before following an Arena recommendation, compare the rank and chapter conditions with what your game currently allows. If the method depends on a later unlock, continuing the story may be the necessary step rather than repeating an earlier fight indefinitely. The walkthrough overview helps keep training decisions connected to progression instead of turning every obstacle into an unbounded grind.
Use the Arena for a defined purpose
The Arena appears in the collected material as a source of repeatable battles and late-game preparation. That makes it a useful place to compare encounters, provided you know whether the goal is proficiency, money, materials or completion. Choose the objective before choosing the fight so that an efficient source of one resource is not mistaken for the best source of everything.
A practical comparison looks at whether the encounter supports the weapon category you want to train and whether you can repeat it reliably. This does not establish a universal fastest rank, because the collected sources describe different progression states and editions. The Arena guide explains access and rewards while keeping unsupported performance rankings marked 待确认.
Consider terminal preparation separately
The collected late-game references discuss terminal networks as part of farming preparation. That is a world-map setup task involving Energy Hex connections, rather than a property automatically granted by entering an Arena battle. If a guide assumes terminal effects, reproducing only the fight may not reproduce the conditions the author was using.
Read the preparation section of a source before borrowing its result, and check whether you can actually build the relevant connections. This page does not invent a universal shortest route, a guaranteed number of pieces or a current-version multiplier table. The terminal guide explains the distinction between an accessible location and a deliberately connected network.
Keep money and experience goals separate
A battle may be convenient for collecting saleable drops without being the best match for the proficiency you want to improve. Conversely, a training encounter can be useful even when its ordinary cash reward is not the reason to fight it. Record the purpose of the session so that the result can be judged against the actual goal.
The collected material includes separate discussions of money, experience, weapon parts and hexes for precisely these different needs. Do not turn that range of topics into an unsupported claim that one route maximizes all resources at once. If money is the immediate obstacle to equipment preparation, consult the money-farming page rather than measuring the wrong kind of progress.
Evaluate progress without a made-up target level
An editorial stopping rule is to return to the problem encounter after a meaningful equipment or proficiency change and see whether the original limitation has improved. That is more informative than chasing an arbitrary level copied from an unrelated screenshot. Keep the comparison focused on the battle task you wanted the training to support.
No minimum level for every boss, precise experience threshold table or guaranteed time to endgame is supplied by this research. A player recommendation from an older version is context, not a universal requirement for Enhanced Remaster. If you need a specific numerical benchmark that is not verified here, its status is 待确认 rather than a number inferred from genre conventions.
Double speed does not prove a new experience formula
The collected enhancement research confirms a double-speed option affecting battles, exploration and events. It does not establish that the underlying experience calculation was changed, nor does it justify multiplying an old experience-per-hour claim by a fixed amount. Time spent in menus, preparation and unsuccessful attempts would still need to be measured before making any performance comparison.
Use the speed option according to your comfort with the battle sequence, particularly if you are still learning damage conversion. A faster presentation can make a familiar repetition more convenient, but it is not a substitute for a method that trains the intended weapon. Remaster-specific leveling tests and measured farming rates remain 待确认 on this page.
A documented charging limit
The older mechanics guide links the maximum number of charges to proficiency with the equipped weapon category. Its example contrasts a weapon proficiency of five with one of forty, rather than claiming that every character can charge indefinitely. Treat that as an explanation of the inherited relationship, with any remaster-specific change marked 待确认.
Sources and practical limits
The supplied combat and customization modules establish the weapon roles and equipment variables used in this explanation. The older mechanics guide and Steam farming guide provide historical weapon-training context, while the Arena reference helps identify progression gates. These sources support a preparation framework, not a claim that a fresh Enhanced Remaster speedrun or controlled leveling test has been performed.
Related pages
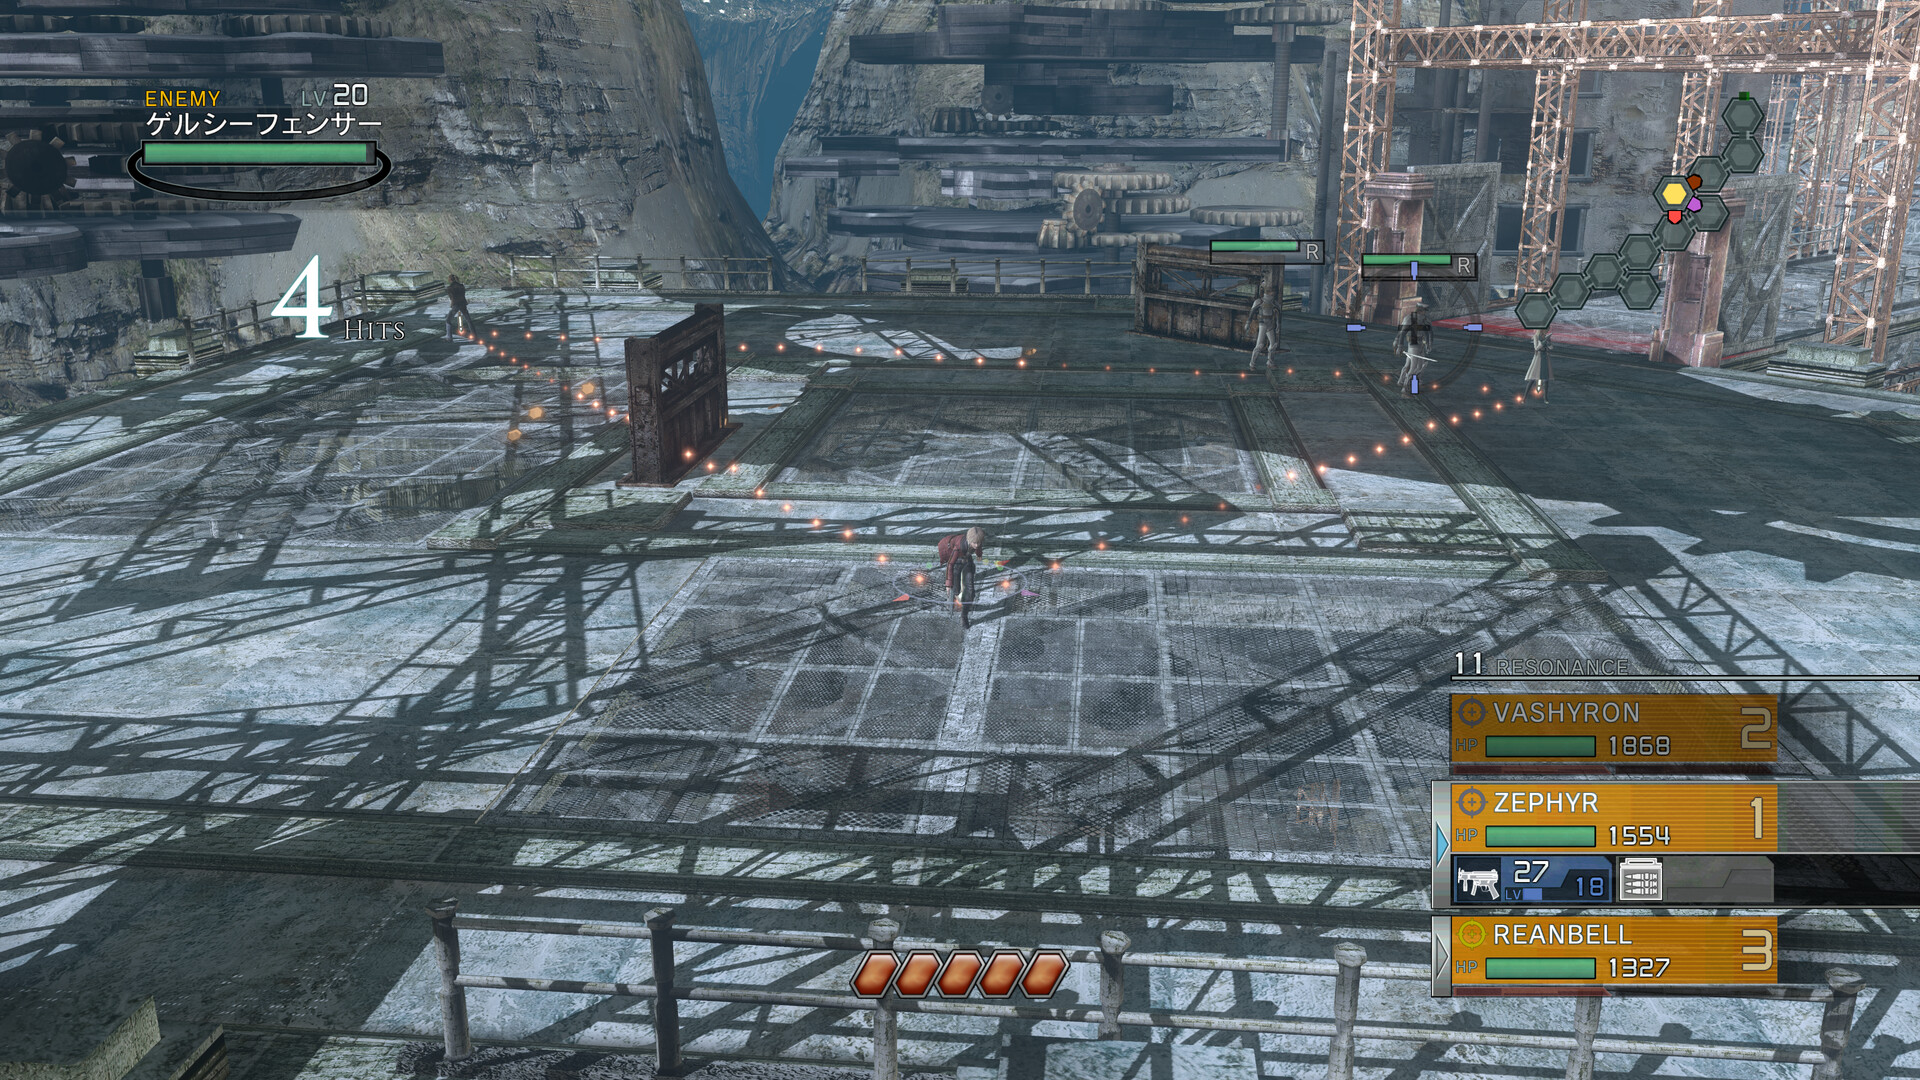
Resonance of Fate Arena: Ranks, Rewards and Preparation
Explore Resonance of Fate Arena progression, chapter gates, Battle Coins and completion goals, while distinguishing old guide data from remaster testing.
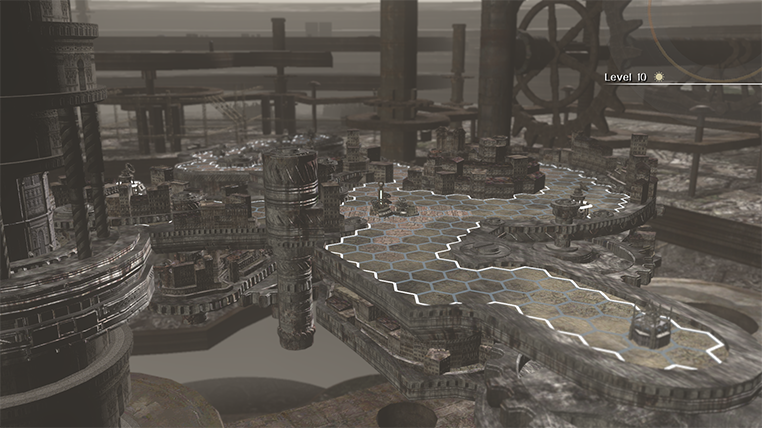
Basel Map Guide
Learn how to explore Basel using the game's distinctive hex-based world map system. Understand how map exploration connects with unlocking areas, discovering locations, and progressing through the story.
Beginner Guide
Start your journey through Basel with an introduction to the game's unusual gun-based combat system. Learn how to approach early battles, use Hero Actions, and prepare your party for increasingly difficult encounters.